Setting Up and Configuring Your NAS System.

Introduction:
Network-attached storage (NAS) systems have become increasingly popular in recent years due to their ability to store and share files, media, and backups across various devices. A NAS is essentially a personal cloud server that allows you to store your data and access it anytime and anywhere. However, setting up and configuring a NAS can be a daunting task, especially for those who are new to the technology. In this comprehensive guide, we will walk you through the process of setting up and configuring your NAS system for optimal performance and convenience.
1. Choosing the Right NAS:
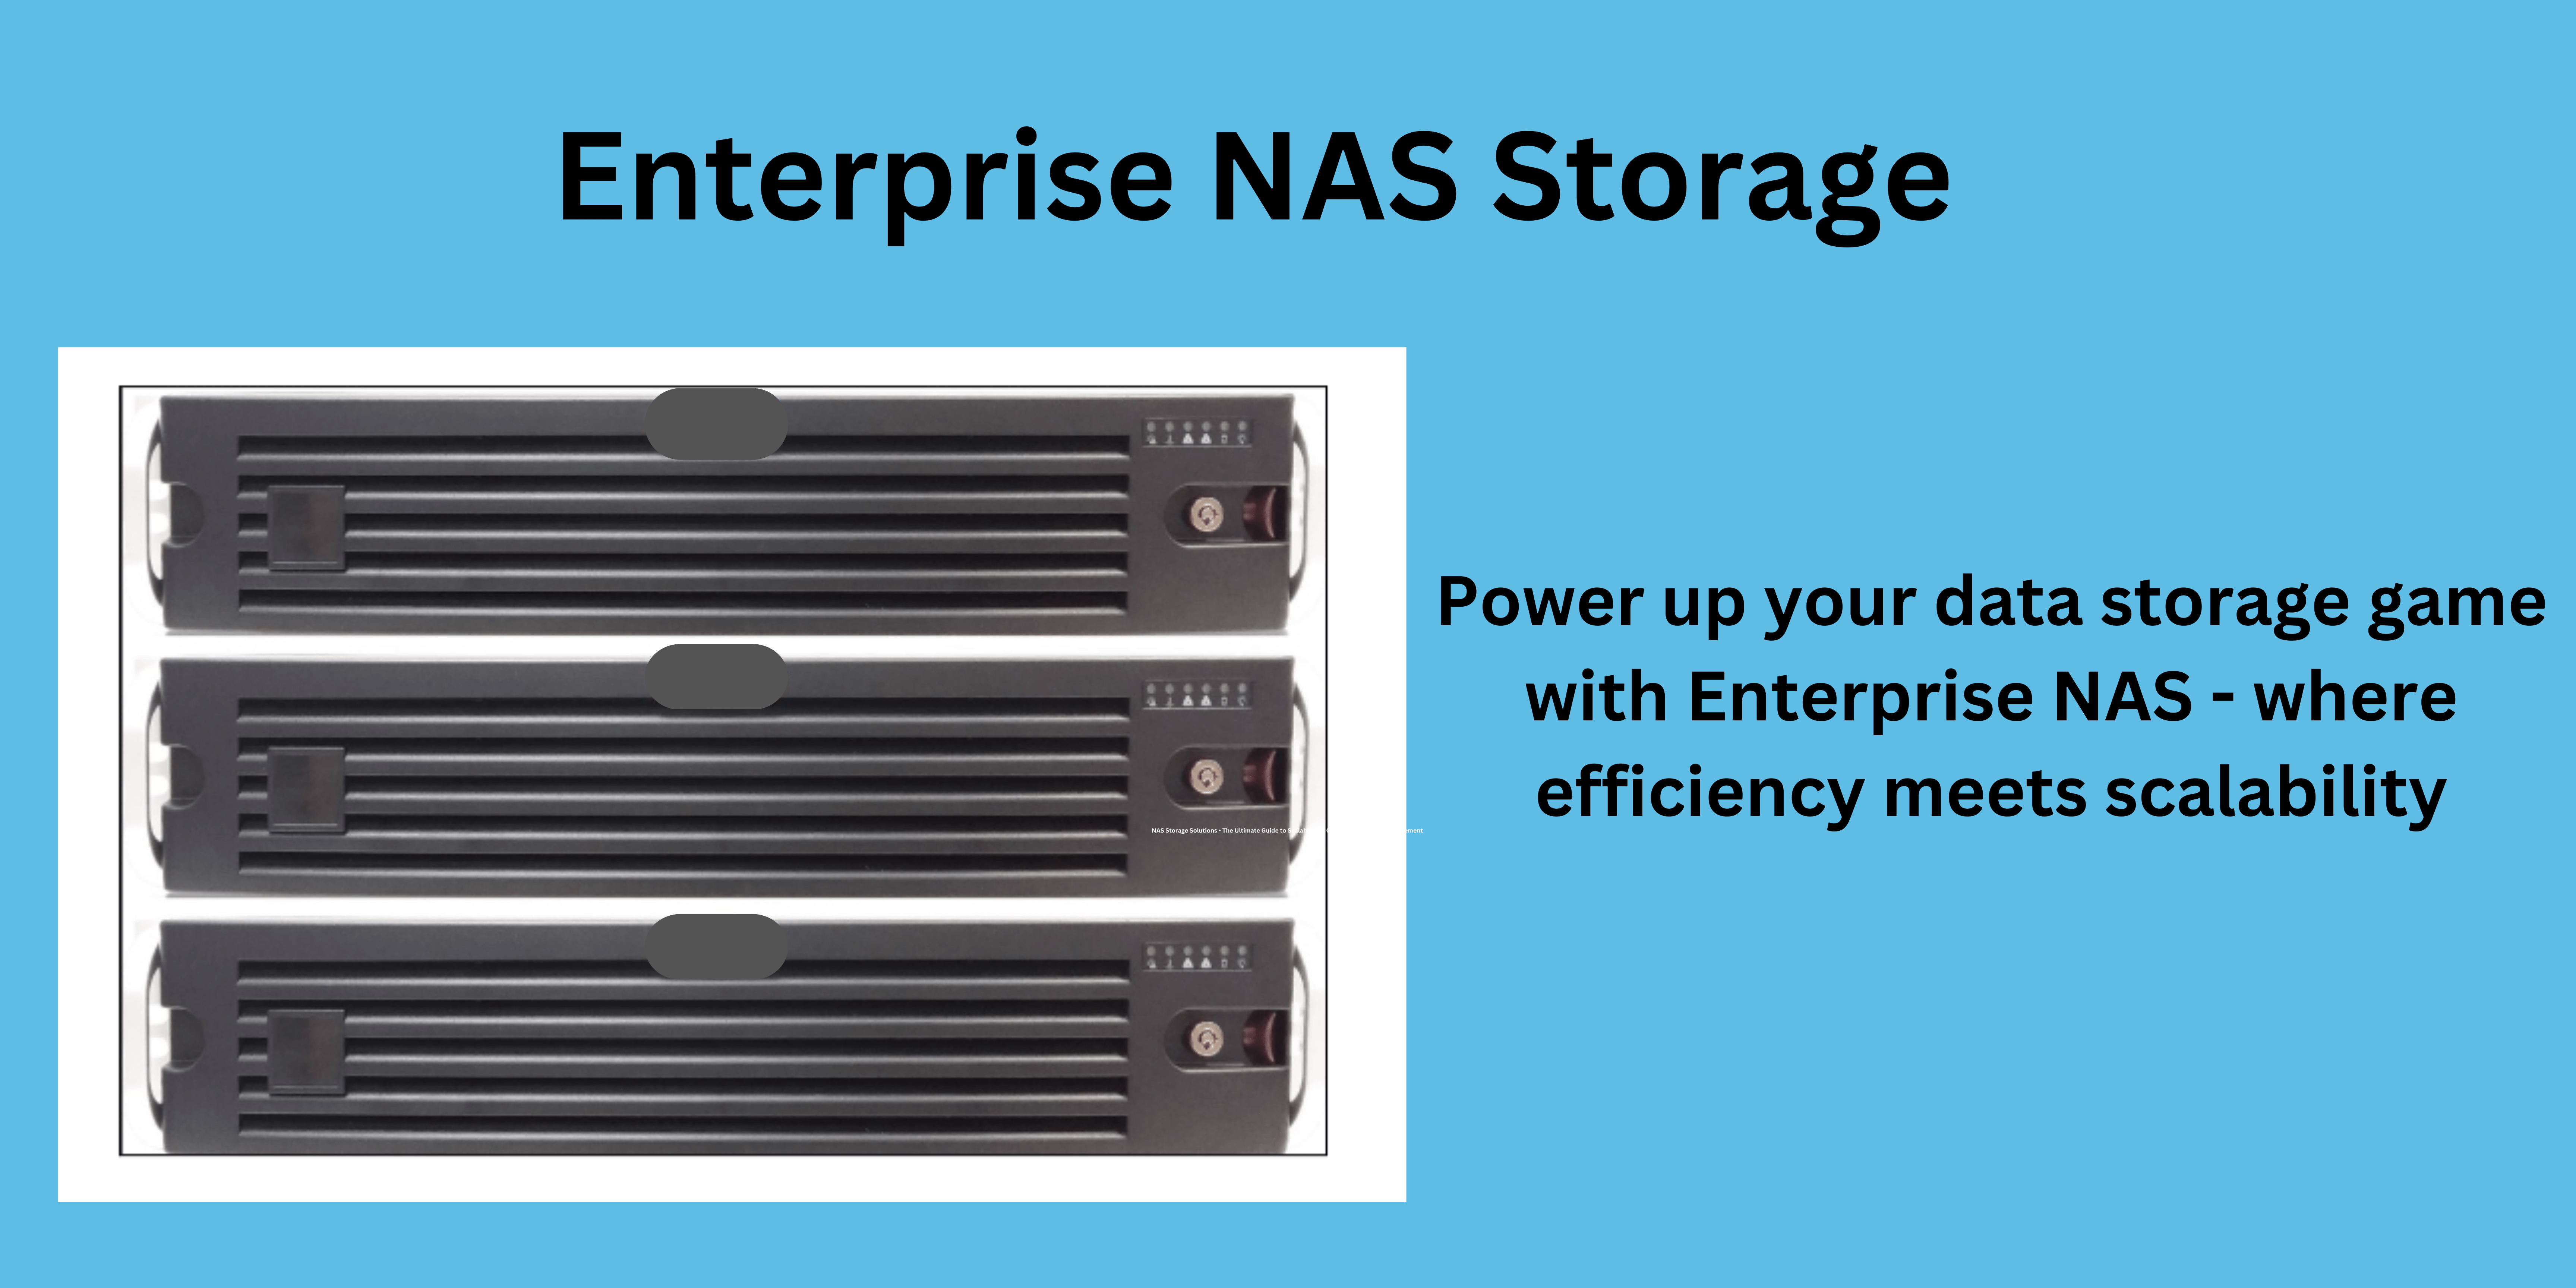
Before setting up your NAS system, it is important to choose the right hardware that meets your storage needs. NAS systems are available in various shapes, sizes, and price ranges. For a basic home user, a single-bay NAS device may suffice, while a business or professional user may require a multi-bay device with advanced features. It is also important to consider the storage capacity, processor, RAM, and connectivity options when selecting a NAS system.
2. Installing the NAS:
Once you have selected the NAS system, the next step is to install it. Most NAS devices come with a quick-start guide that explains the installation process in detail. Typically, you will need to connect the device to your network via LAN cable, power it up, and follow the setup wizard to configure the basic settings such as language, time zone, and network settings. Some NAS devices also offer a mobile app or a web interface that allows you to configure the device remotely.
3. Configuring the NAS Settings:
After installing the NAS, you will need to configure the settings to optimize its performance and security. Depending on the device, you may be able to configure the settings via a web interface, mobile app, or desktop application. You should configure the following settings:
– User accounts and permissions: Create user accounts and assign appropriate permissions to access the NAS data
– RAID configuration: If your device supports disk redundancy, configure the RAID level that fits your storage needs and budget
– Backup and sync: Set up backup and sync options to safeguard your data in case of hardware failure or data loss
– Media server: If your NAS device supports media streaming, configure the media server settings to stream your media files to your devices
4. Adding and Accessing Data:
Once you have configured the settings, you can start adding and accessing data on your NAS system. You can either access the data via a file explorer, a mobile app, or a web interface depending on the device and configuration settings. You should also ensure that the data is organized and stored in a way that makes it easy for you to search and retrieve the files when needed. You may also consider setting up a backup schedule to automatically backup your data to another storage device or cloud service.
5. Troubleshooting Common Issues:
Like any other technology, NAS Solutions may encounter issues such as slow performance, network connectivity issues, or data corruption. The first step to troubleshoot any issue is to check if the device firmware is up to date and if the network settings are configured correctly. You should also check the device logs and error messages to identify the root cause of the problem. If the issue persists, you may need to consult the device manual or contact the vendor’s support team for assistance.
Conclusion:
Setting up and configuring a NAS system may seem overwhelming at first, but with the right hardware and guidance, it can be a smooth process that enhances your productivity and data security. By following the steps outlined in this guide, you can successfully set up your NAS device and enjoy the benefits of efficient data storage, sharing, and access. Remember to also keep your device firmware up to date, backup your data regularly, and troubleshoot any issues promptly to ensure optimal performance and longevity of your NAS system.To know more, Contact us.