Efficient Pipe Acoustic Lagging in Tight Spaces
When it comes to managing noise in buildings, especially in confined spaces, pipe acoustic lagging is an essential tool. It plays a crucial role in reducing the transmission of noise through pipes, ensuring a quieter and more comfortable environment. However, installing pipe acoustic lagging in tight or confined spaces can be a challenging task. This blog will provide you with practical tips for efficiently installing pipe acoustic lagging in confined spaces. We will break down the process into manageable steps and offer guidance on how to achieve the best results.
Understanding the Importance of Pipe Acoustic Lagging
Pipe acoustic lagging is designed to minimize noise transmission through pipes. This is particularly important in buildings where pipes carry fluids or gases under pressure, which can generate significant noise. Without proper insulation, this noise can travel through walls, floors, and ceilings, creating disturbances in living and working environments. Acoustic lagging not only reduces noise but also helps improve the overall acoustic performance of the building.
In confined spaces, where pipes are often located, the need for effective noise control becomes even more critical. These areas, such as utility rooms, basements, or within wall cavities, often have limited space, making noise more noticeable and harder to manage. Properly installed pipe acoustic lagging can significantly reduce noise levels, creating a more pleasant environment for occupants.
Moreover, pipe acoustic lagging also offers thermal insulation benefits. By reducing heat loss from pipes, it helps improve the energy efficiency of the building. This dual benefit of noise reduction and thermal insulation makes pipe acoustic lagging a valuable addition to any building, particularly in areas where space is limited.
Note – For expert solutions in Pipe Acoustic Lagging, trust PerfectAcoustic to deliver top-quality installations that ensure a quieter and more comfortable environment. Contact PerfectAcoustic today to learn how we can help you achieve optimal noise control with our specialized services!
Preparing for Installation in Confined Spaces
Before you begin installing pipe acoustic lagging, it’s important to properly prepare the space. Confined areas often present unique challenges, such as limited access, tight corners, and obstacles that can hinder the installation process. Proper preparation is key to ensuring a smooth and efficient installation.
First, assess the space where the pipes are located. Take note of any obstacles, such as electrical wires, junction boxes, or structural elements that may interfere with the installation. If necessary, remove or relocate any items that could obstruct the installation process.
Next, gather all the materials and tools you will need for the installation. This includes the pipe acoustic lagging material, cutting tools, adhesive, and safety equipment. Having everything prepared and within reach will save you time and make the installation process more efficient.
It’s also important to measure the pipes accurately before cutting the lagging material. In confined spaces, precision is crucial, as there is little room for error. Make sure to measure the length and diameter of the pipes carefully and cut the lagging material accordingly. This will ensure a snug fit and effective noise reduction.
Finally, consider the safety aspects of working in confined spaces. Make sure the area is well-ventilated, and wear appropriate protective gear, such as gloves and a mask, to protect yourself from dust and fumes during the installation.
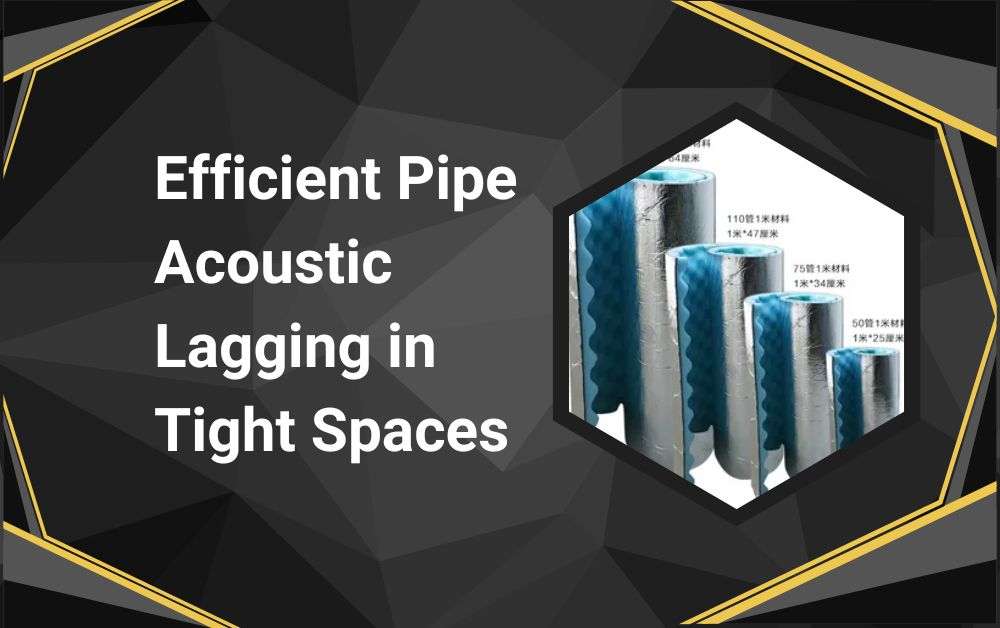
Selecting the Right Pipe Acoustic Lagging Material
Choosing the right material for your pipe acoustic lagging is crucial for achieving optimal results, especially in confined spaces. There are various types of acoustic lagging materials available, each with its own benefits and suitability for different applications. Understanding the properties of these materials will help you make an informed decision.

One of the most common materials used for pipe acoustic lagging is mineral wool. Mineral wool is known for its excellent sound absorption properties and is often used in both residential and commercial buildings. It is also fire-resistant, making it a safe choice for applications where fire safety is a concern. However, mineral wool can be bulky, which may pose challenges in confined spaces.
Another popular option is foam-based acoustic lagging. Foam materials, such as closed-cell foam or polyurethane foam, offer good sound insulation while being lightweight and flexible. This flexibility makes them easier to install in tight spaces, as they can be easily cut and shaped to fit around pipes and other obstacles.
For applications where thermal insulation is also a priority, you might consider using composite materials that combine acoustic and thermal insulation properties. These materials are designed to provide both noise reduction and heat retention, making them ideal for pipes that carry hot or cold fluids.
When selecting the material, consider the specific requirements of your project, such as the level of noise reduction needed, the thermal insulation properties required, and the ease of installation in confined spaces. The right material will ensure that your pipe acoustic lagging performs effectively and lasts for years to come.
Steps for Efficient Installation in Confined Spaces
Installing pipe acoustic lagging in confined spaces requires a careful and methodical approach. By following these steps, you can ensure a successful installation that minimizes noise and maximizes the efficiency of your lagging material.
Step 1: Clean the Pipes
Before applying the lagging material, it’s important to clean the pipes thoroughly. Dust, dirt, and grease can prevent the adhesive from sticking properly, leading to gaps or loose fittings. Use a mild detergent and water to clean the surface of the pipes, then allow them to dry completely before proceeding with the installation.
Step 2: Cut the Lagging Material
Using the measurements you took earlier, cut the lagging material to the appropriate length and width. It’s better to cut slightly larger pieces than needed, as you can always trim them down during installation. When working in confined spaces, it’s easier to handle smaller sections of lagging material, so consider cutting the material into manageable pieces.
Step 3: Apply the Adhesive
Apply a high-quality adhesive to the inside of the lagging material. Be sure to use an adhesive that is compatible with both the lagging material and the pipes. In confined spaces, it’s important to work carefully and avoid getting adhesive on surrounding surfaces or components. Apply the adhesive evenly to ensure a strong bond.
Step 4: Wrap the Pipes
Carefully wrap the lagging material around the pipes, starting from one end and working your way to the other. In tight spaces, you may need to maneuver the material around obstacles, so take your time and ensure a snug fit. Press the material firmly against the pipe to secure it in place.
Step 5: Seal the Joints
Once the lagging material is in place, use adhesive tape or sealant to secure the joints between sections of lagging. This will prevent any gaps that could allow noise to escape and ensure a continuous layer of insulation. Be thorough in sealing the joints, especially in confined spaces where even small gaps can reduce the effectiveness of the acoustic lagging.
Step 6: Inspect the Installation
After the installation is complete, inspect the entire length of the pipes to ensure that the lagging material is securely in place and that there are no gaps or loose sections. Make any necessary adjustments or repairs before finishing the installation.
Common Challenges and How to Overcome Them
Installing pipe acoustic lagging in confined spaces can present several challenges, but with the right approach, these challenges can be overcome. One common challenge is limited access to the pipes. In tight spaces, it can be difficult to reach all areas of the pipes, making it hard to apply the lagging material evenly.
To overcome this, consider using flexible lagging materials that are easier to maneuver in tight spaces. Additionally, using tools like long-handled brushes or extension arms can help you reach difficult areas without having to contort yourself into awkward positions.
Another challenge is working around obstacles, such as electrical wires or structural components. These obstacles can make it difficult to wrap the lagging material around the pipes smoothly. In such cases, you may need to cut the lagging material into smaller sections or use specialized tools to navigate around obstacles.
Finally, confined spaces often have poor ventilation, which can lead to discomfort or safety concerns during installation. To mitigate this, ensure the area is well-ventilated before starting the installation. If necessary, use portable fans or ventilation equipment to improve air circulation. Wearing appropriate protective gear, such as a mask and gloves, can also help protect you from dust and fumes.
By anticipating these challenges and taking proactive measures, you can ensure a smooth and successful installation of pipe acoustic lagging in confined spaces.
Ensuring Long-Term Performance of Pipe Acoustic Lagging
Once the installation is complete, it’s important to take steps to ensure the long-term performance of your pipe acoustic lagging. Regular maintenance and inspections can help identify any issues early on and prevent the need for costly repairs or replacements.
One key aspect of maintaining your acoustic lagging is to regularly check for signs of wear and tear. Over time, the lagging material may become damaged due to environmental factors, such as temperature fluctuations, moisture, or mechanical stress. Inspect the lagging material for any cracks, tears, or signs of deterioration, and repair or replace damaged sections as needed.
In addition to visual inspections, consider monitoring the noise levels in the area where the pipes are located. If you notice an increase in noise, it may be a sign that the acoustic lagging is no longer performing effectively. This could be due to gaps in the lagging material, loose fittings, or degradation of the material itself. Addressing these issues promptly will help maintain the effectiveness of the acoustic insulation.
Another important aspect of long-term maintenance is to ensure that the lagging material remains securely attached to the pipes. Over time, the adhesive used to secure the lagging may weaken, leading to loose or sagging sections. Reapply adhesive or use additional fastening methods, such as adhesive tape or clamps, to keep the lagging material in place.
By regularly maintaining your pipe acoustic lagging and addressing any issues as they arise, you can ensure that it continues to provide effective noise reduction and thermal insulation for years to come.
Conclusion
Installing pipe acoustic lagging in confined spaces requires careful planning, the right materials, and a methodical approach. By following the tips outlined in this blog, you can achieve a successful installation that minimizes noise and enhances the comfort of your building. Remember to prepare the space properly, select the right lagging material, and follow the step-by-step installation process for the best results. Overcoming common challenges and ensuring long-term maintenance will further enhance the performance of your acoustic lagging, providing lasting benefits for your building’s acoustic environment.
For more insightful articles related to this topic, feel free to visit hellos.blog