How to Install Laminate Switchable Smart Glass
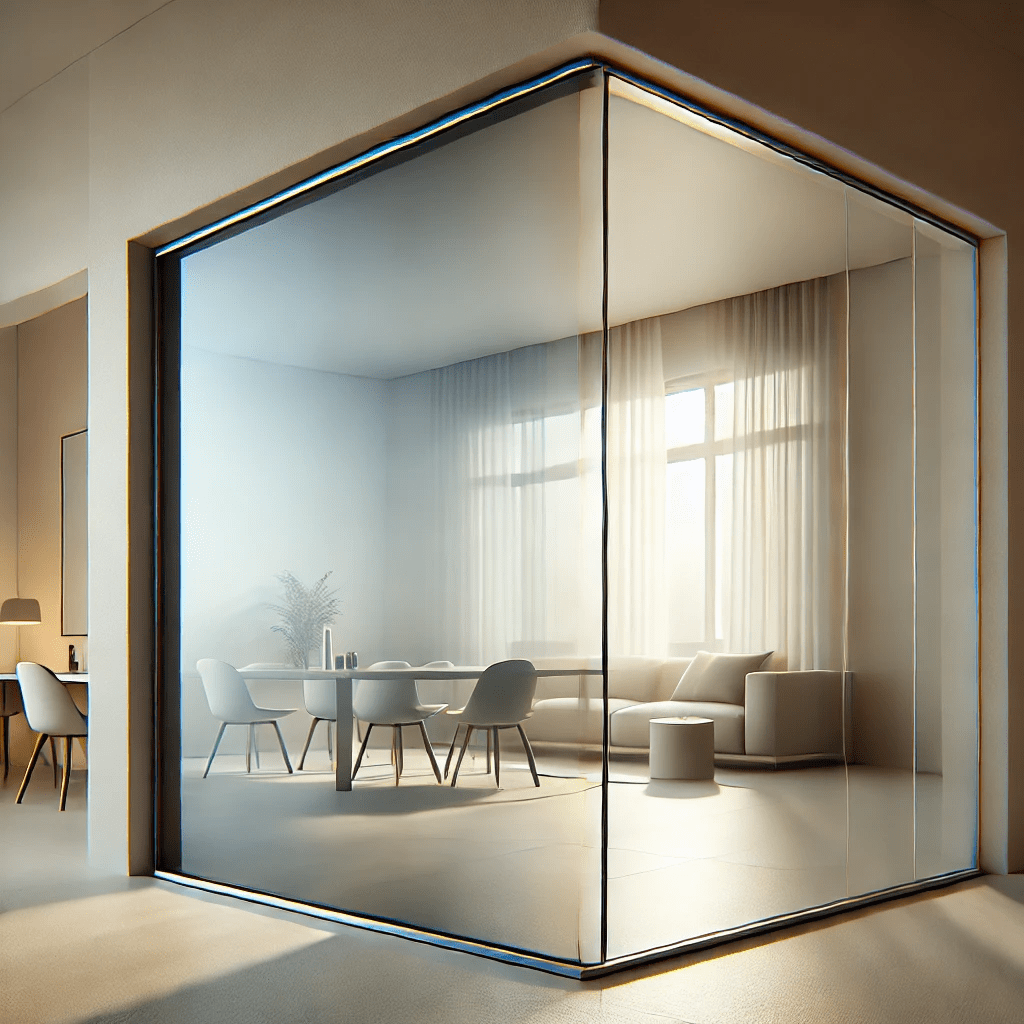
Switchable smart glass is a modern innovation that has gained significant popularity for its ability to transform from transparent to opaque with the flip of a switch. This cutting-edge technology offers both privacy and energy efficiency, making it an excellent choice for homes, offices, and commercial spaces. One of the most advanced forms of this technology is laminate switchable smart glass, which offers enhanced durability and versatility.
In this guide, we will walk you through the process of installing laminate switchable smart glass, providing you with detailed, easy-to-follow instructions to ensure a successful installation. Whether you are a DIY enthusiast or a professional installer, this guide will help you understand the process and avoid common pitfalls.
What is Laminate Switchable Smart Glass?
Before diving into the installation process, it’s important to understand what laminate switchable smart glass is.
Laminate switchable smart glass is a type of smart glass that consists of a polymer-dispersed liquid crystal (PDLC) film laminated between two layers of glass. When an electric current is applied, the liquid crystals align, allowing light to pass through and making the glass transparent. When the current is switched off, the crystals scatter randomly, turning the glass opaque. This technology offers a sleek, modern way to control privacy and light within a space.
Why Choose Laminate Switchable Smart Glass?
There are several reasons why you might choose laminate switchable smart glass for your home or business:
- Privacy on Demand: Instantly switch between transparent and opaque modes for privacy at the touch of a button.
- Energy Efficiency: Helps control the amount of sunlight entering a room, reducing the need for air conditioning.
- UV Protection: Blocks harmful UV rays, protecting your furniture and interiors from fading.
- Noise Reduction: The laminated structure provides excellent sound insulation.
- Durability: Laminated glass is stronger and more resistant to shattering, making it safer for use in high-traffic areas.
Tools and Materials Needed for Installation
Before starting the installation, gather the necessary tools and materials. Proper preparation is key to a smooth installation process.
Tools:
- Tape measure: For precise measurements of the glass and the installation area.
- Glass cutter: If the glass needs to be trimmed to size.
- Level: To ensure the glass is installed straight.
- Drill: For drilling holes in the frame if necessary.
- Screwdriver: For securing the frame.
- Utility knife: To trim excess material.
- Vacuum cleaner: To remove dust and debris from the installation area.
- Rubber mallet: For gently tapping the glass into place.
Materials:
- Laminate switchable smart glass panels: Ensure the panels are the correct size for your installation area.
- Glass frame: A frame that fits the size of your glass panels.
- Power supply: A compatible power supply for the smart glass.
- Wiring: Electrical wires to connect the glass to the power source.
- Switch or remote control: To operate the smart glass.
- Sealant: To secure the glass and protect against moisture.
- Grommets and clips: For securing the glass within the frame.
Step-by-Step Installation Guide
Step 1: Measure the Installation Area
Accurate measurement is crucial to ensure the smart glass fits perfectly within the designated space. Measure the height and width of the installation area using a tape measure. It’s important to measure both the top and bottom of the space, as walls and frames may not be perfectly square. Record these measurements carefully.
Pro Tip: Measure twice to avoid any mistakes, as an incorrectly sized glass panel can lead to costly delays.
Step 2: Prepare the Installation Area
Clean the installation area thoroughly to remove any dust, dirt, or debris. Use a vacuum cleaner to ensure the area is completely clean. Any particles left behind can affect the adhesion of the sealant and compromise the installation.
If you’re installing the glass in a new frame, ensure that the frame is properly installed and leveled. If the frame is old or damaged, consider replacing it to ensure the smart glass is securely mounted.
Pro Tip: If the installation area has been recently painted, allow the paint to dry completely before proceeding with the installation.
Step 3: Prepare the Laminate Switchable Smart Glass
Once the installation area is ready, it’s time to prepare the smart glass panel. If the glass needs to be cut to size, use a glass cutter to carefully trim the panel. Ensure the glass is cut evenly to avoid sharp edges or uneven fitting.
Important: Handle the glass with care. Although laminated glass is more durable than regular glass, it can still be damaged if mishandled.
Next, check the smart glass panel for any defects, such as cracks or imperfections. Inspect the wiring connections to ensure they are intact and properly secured.
Pro Tip: Wear gloves when handling the glass to prevent fingerprints and smudges, which can affect the final appearance of the installation.
Step 4: Install the Glass Frame (If Necessary)
If your installation requires a new frame, follow these steps to install it:
- Position the frame: Place the frame in the installation area and ensure it is level.
- Secure the frame: Use a drill and screws to secure the frame in place. Make sure it is firmly attached to the wall or window opening.
- Check the alignment: Use a level to double-check that the frame is perfectly aligned.
Pro Tip: If the frame is not level, the glass may not fit properly, leading to potential issues with the operation of the smart glass.
Step 5: Place the Smart Glass in the Frame
Carefully lift the laminate switchable smart glass and place it into the frame. Ensure that the glass is oriented correctly, with the wired side aligned with the designated power source.
Gently lower the glass into the frame, making sure it fits snugly. If necessary, use a rubber mallet to tap the glass into place. Be careful not to hit the glass too hard, as this could cause damage.
Pro Tip: If the glass does not fit perfectly, remove it and check the frame for any obstructions or unevenness.
Step 6: Connect the Electrical Wiring
With the glass in place, it’s time to connect the electrical wiring. Follow these steps:
- Identify the wiring connections: Locate the wires attached to the smart glass panel. These wires will connect to the power supply.
- Run the wires: Route the wires through the frame or wall to the power supply. Ensure the wires are hidden from view for a clean, professional finish.
- Connect the power supply: Attach the wires to the power supply, following the manufacturer’s instructions. Make sure the connections are secure to prevent any electrical issues.
- Install the switch or remote: Connect the switch or remote control to the power supply. This will allow you to operate the smart glass, switching it between transparent and opaque modes.
Pro Tip: Double-check all connections before turning on the power to ensure everything is wired correctly.
Step 7: Test the Smart Glass
Before sealing the glass in place, test the smart glass to ensure it is functioning properly. Turn on the power and use the switch or remote to activate the glass. Observe the transition from opaque to transparent to confirm that the glass is working as expected.
Troubleshooting:
- If the glass does not switch modes, check the wiring connections and power supply.
- If the glass flickers or does not fully transition, there may be an issue with the electrical connection.
Pro Tip: Perform multiple tests to ensure consistent operation before proceeding to the final steps.
Step 8: Seal the Glass
Once you are satisfied that the smart glass is functioning correctly, it’s time to seal the glass in place. Apply a high-quality sealant around the edges of the glass to secure it within the frame. The sealant will also protect the glass from moisture and dust, ensuring long-term durability.
- Apply sealant: Use a caulking gun to apply sealant evenly around the edges of the glass. Be sure to fill any gaps between the glass and the frame.
- Smooth the sealant: Use a utility knife or a specialized tool to smooth the sealant for a clean finish.
- Allow the sealant to dry: Follow the manufacturer’s instructions for drying time. Avoid touching or disturbing the glass while the sealant is drying.
Pro Tip: Choose a sealant that is compatible with both glass and the frame material to ensure a strong bond.
Step 9: Final Inspection
After the sealant has dried, perform a final inspection of the installation. Check the following:
- Glass positioning: Ensure the glass is still aligned correctly and has not shifted during sealing.
- Sealant finish: Inspect the sealant for any gaps or uneven areas that may need touch-ups.
- Operation: Test the smart glass one final time to confirm it is operating smoothly.
Pro Tip: Document the installation process with photos or notes. This can be helpful for future reference or if any issues arise later.
Maintenance Tips for Laminate Switchable Smart Glass
To ensure the longevity and optimal performance of your laminate switchable smart glass, follow these maintenance tips:
- Regular Cleaning: Clean the glass regularly using a soft, lint-free cloth and a mild glass cleaner. Avoid using abrasive cleaners or materials that could scratch the glass surface.
- Check Electrical Connections: Periodically inspect the electrical connections to ensure they are secure and free from corrosion. Loose or damaged connections can affect the performance of the smart glass.
- Avoid Sharp Objects: Keep sharp objects away from the glass to prevent scratches or damage to the laminated surface.
- Temperature Control: Although laminate smart glass is durable, extreme temperature fluctuations can affect its performance. Ensure that the glass is not exposed to extreme cold or heat for prolonged periods.
- Professional Inspection: Consider having a professional inspect the glass and electrical components annually to ensure everything is in good working order.
Conclusion
Installing laminate switchable smart glass is a rewarding project that enhances both the functionality and aesthetics of your space. By following this step-by-step guide, you can achieve a professional-quality installation that provides privacy, energy efficiency, and a modern touch to any room.
Whether you’re upgrading your home or outfitting a commercial space, laminate switchable smart glass offers a versatile solution that adapts to your needs. With proper installation and maintenance, you’ll enjoy the benefits of this innovative technology for years to come.
Remember, the key to a successful installation is careful planning, precise measurements, and attention to detail. Don’t rush the process, and don’t hesitate to seek professional help if you encounter any challenges. Happy installing!
Note :- Read more related blogs at https://hellos.blog/